Helping to Build a Self-Driving Robot
Last year I started volunteering at Bureau voor Pedagogiek. Here, I teach and help youth with questions about computer science— but it’s actually much more than that.
One of the students asked if I could build a robot with him. Of course, I answered: “Let’s do it!”
The volunteering job
Let me add a little context to the volunteering job before I continue. Last year a friend of mine was asked if he wanted to support an orthopedagogical day care with their computer (science) related questions. He immediately thought of me and asked if I wanted to take the job.
The day care specialises in supporting youth in their teens who are not able to attend regular education. Most commonly, they struggle with autism and other challenges that made it difficult for them to fit into their previous schools. Bureau voor Pedagogiek provides a safe place where they can learn and grow and get the support they need to thrive.
After meeting with the team we decided that my help would be best fitted for “Route Talent”. You can read about said group on their website. It’s in Dutch though.
I am very glad I took this volunteering job as it fills me with joy helping these kids out and finding a connection with them. They really appreciate the effort you put into them, and it just feels great seeing them grow, learn, and enjoy me being there for them.
Let’s build a robot
When the student asked me if we could build a robot together I started brainstorming immediately. Is it possible? Can I teach him something? Will it be too hard?
I had some ideas on how to go about and tackle the problem, but the great thing was: I’d never built something like this myself.
So, I sat down with him, and we set some goals for the robot:
- It can drive itself
- It detects obstacles and avoids them
- We’ll build it from loose components
- It’ll use an Arduino we code ourselves
Gathering components
We started looking online for some components we would need. It became clear that we needed the following things to get started:
- A base to mount the robot and wheels on
- An Arduino to control the wheels
- Wheels and motors to drive them
- A motor driver module (this was new to me)
- A sensor for detecting distance
I decided it would be smart to also include a breadboard we could stick to the base and prototype on and was easy to change wiring for using jumper cables.
For the base and wheels I found a simple kit which included a base plate with room two motors and wheels and pre-drilled holes for easy wiring.
I ordered the parts and the week after we started building the robot step by step.
Assembling the robot
It’s not always super clear how things go together, so we spent a lot of time reading documentation and looking at wiring schematics together.
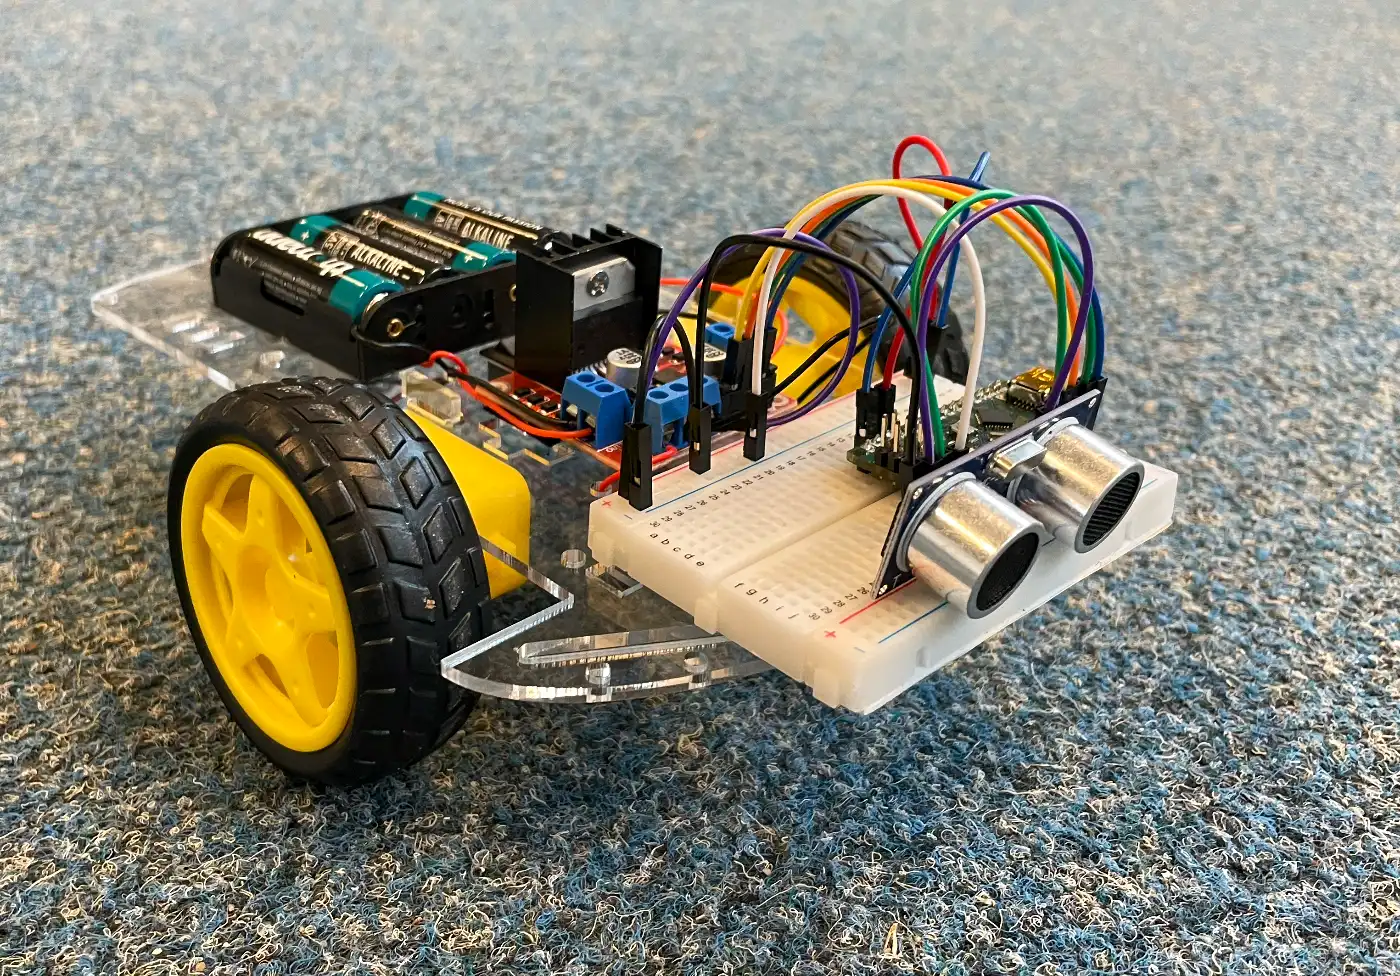
Here you’ll see that we already mounted some things on the base plate such as the wheels, motors, motor driver, and breadboard with electronics.
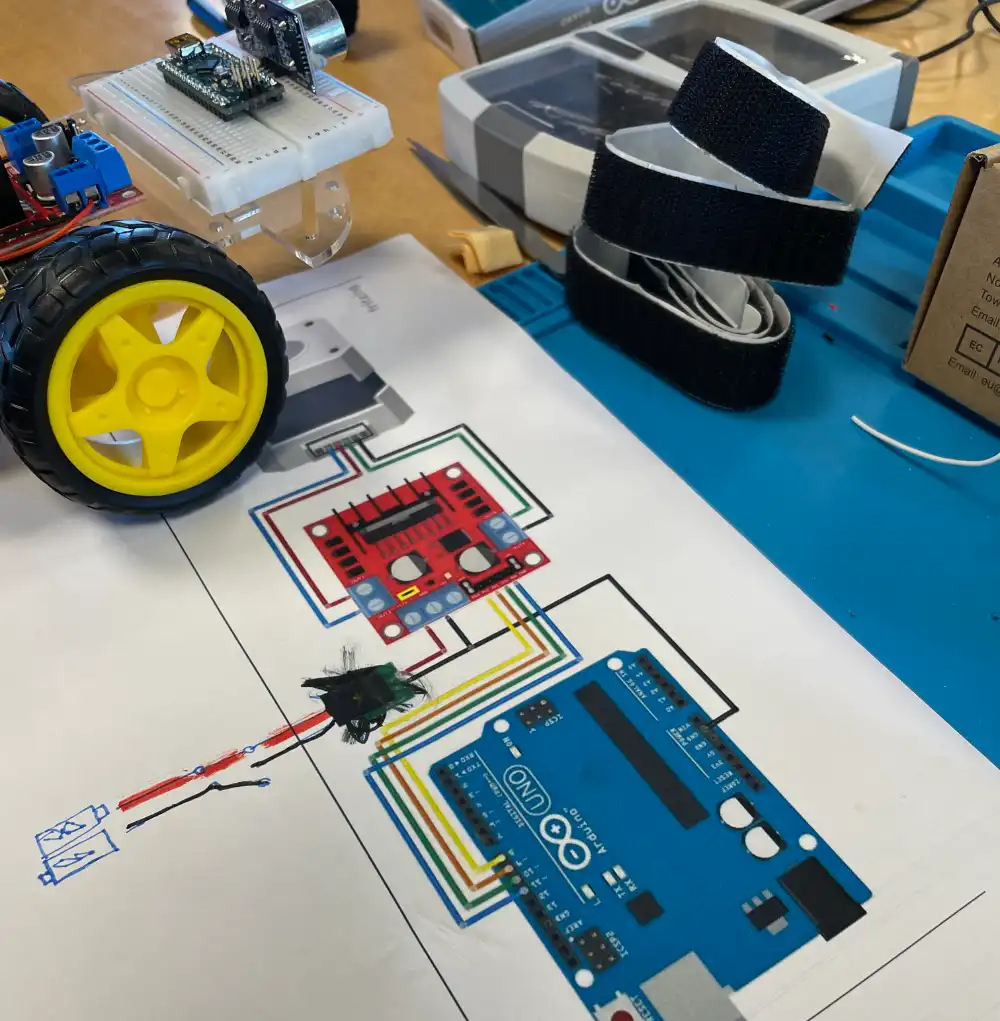
We did not however know how to wire anything yet, so we looked up schematics and read them carefully.
Step by step we started to lay out which parts of the robot needed to be wired and to which components they needed to be connected.
Soldering and wiring
Once we had a good grip on what we need to wire and solder I invited the student to do this step himself.
Soldering your first joints can be a bit scary, but if you have someone to coach you through it, it’s not so bad. As shown here the student did very well!
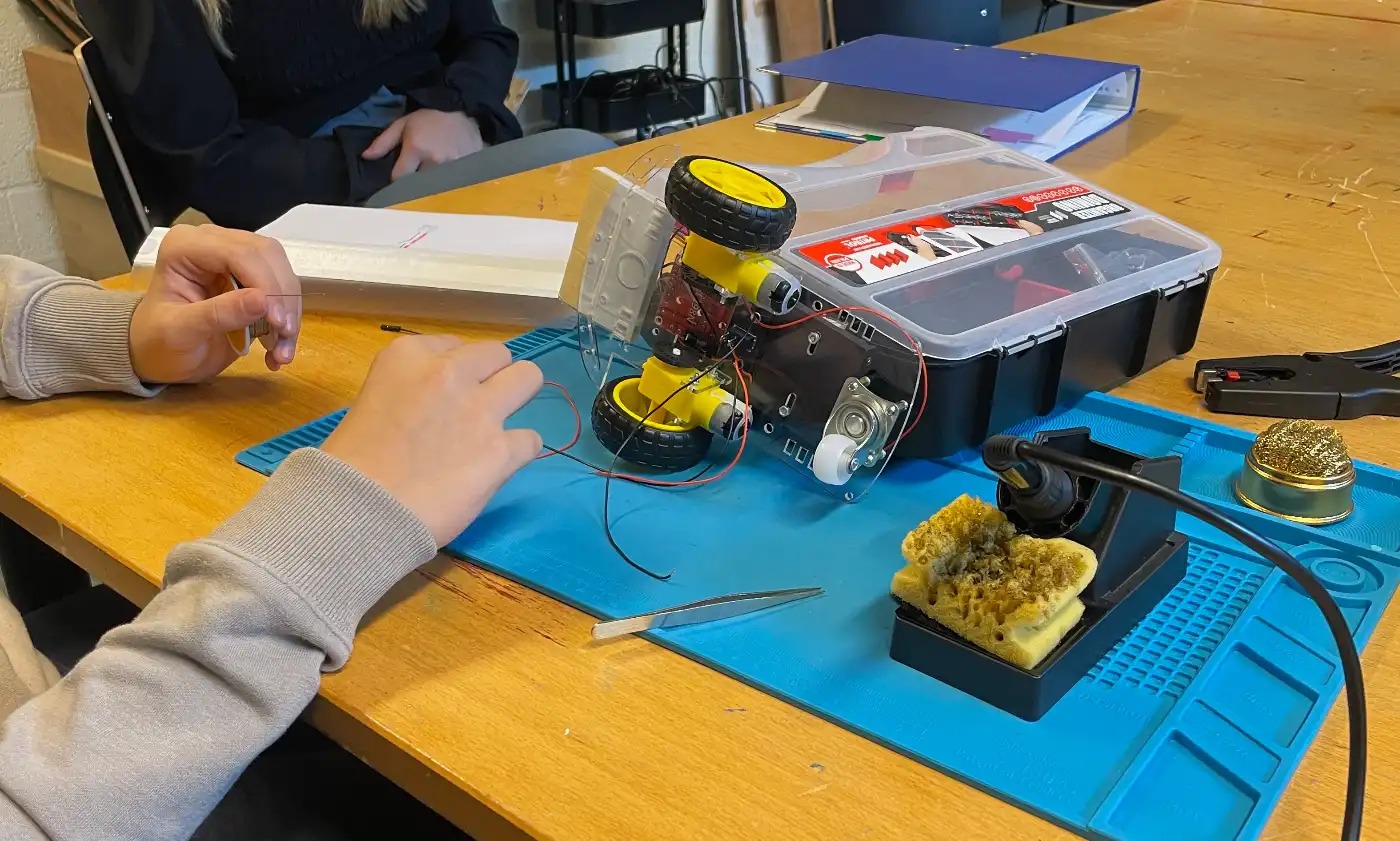
I surely wish I had someone to tell me how to solder when I tried for the first time.
Programming the robot
This is the part where I kind of lost the student, as programming was a bit too much. He grasped the concepts, and he came up with the logic, but it was me writing all the implementation. And that’s fine. I do not want to make writing c++ and failing a part of this experience.
I decided it would be best if I started writing the code, and he’d help me test it.
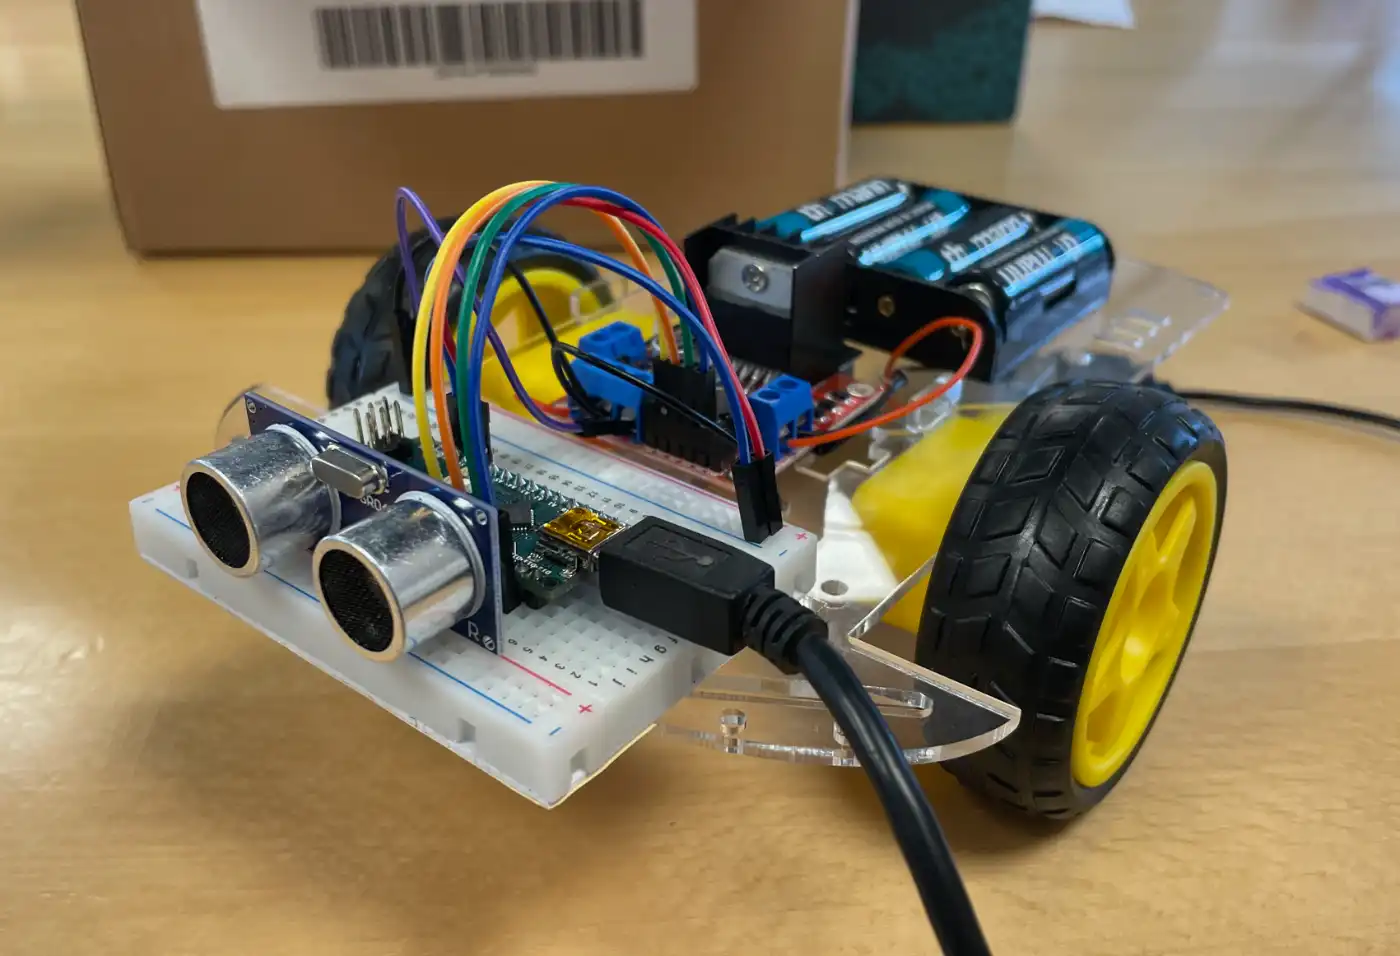
We started out trying to get the wheels moving using the motor driver module. That was a fun experience letting the little guy drive aimlessly across the class room.
After that we started testing out the distance detection module, which uses ultrasonic sound to detect distance, pretty cool!
When it detects something close, it will randomly turn either left or right until it no longer detects an obstacle.
Here is a video we took yesterday of a test run:
We both learned a lot
We plan to add more things to this robot such as remote control and solving mazes, but that’s stuff for later.
There is room for improvement as the robot can get stuck and is not really smart at the moment.
This process has showed me that you can build your own self-driving little robot using quite simple components. Even if you don’t know how to, you can figure it out step by step.
It was great figuring this out together and working on this little build.
I am already looking forward to other wacky things I will build here.